
Pool Resurfacing Process: What to Expect Before, During, and After
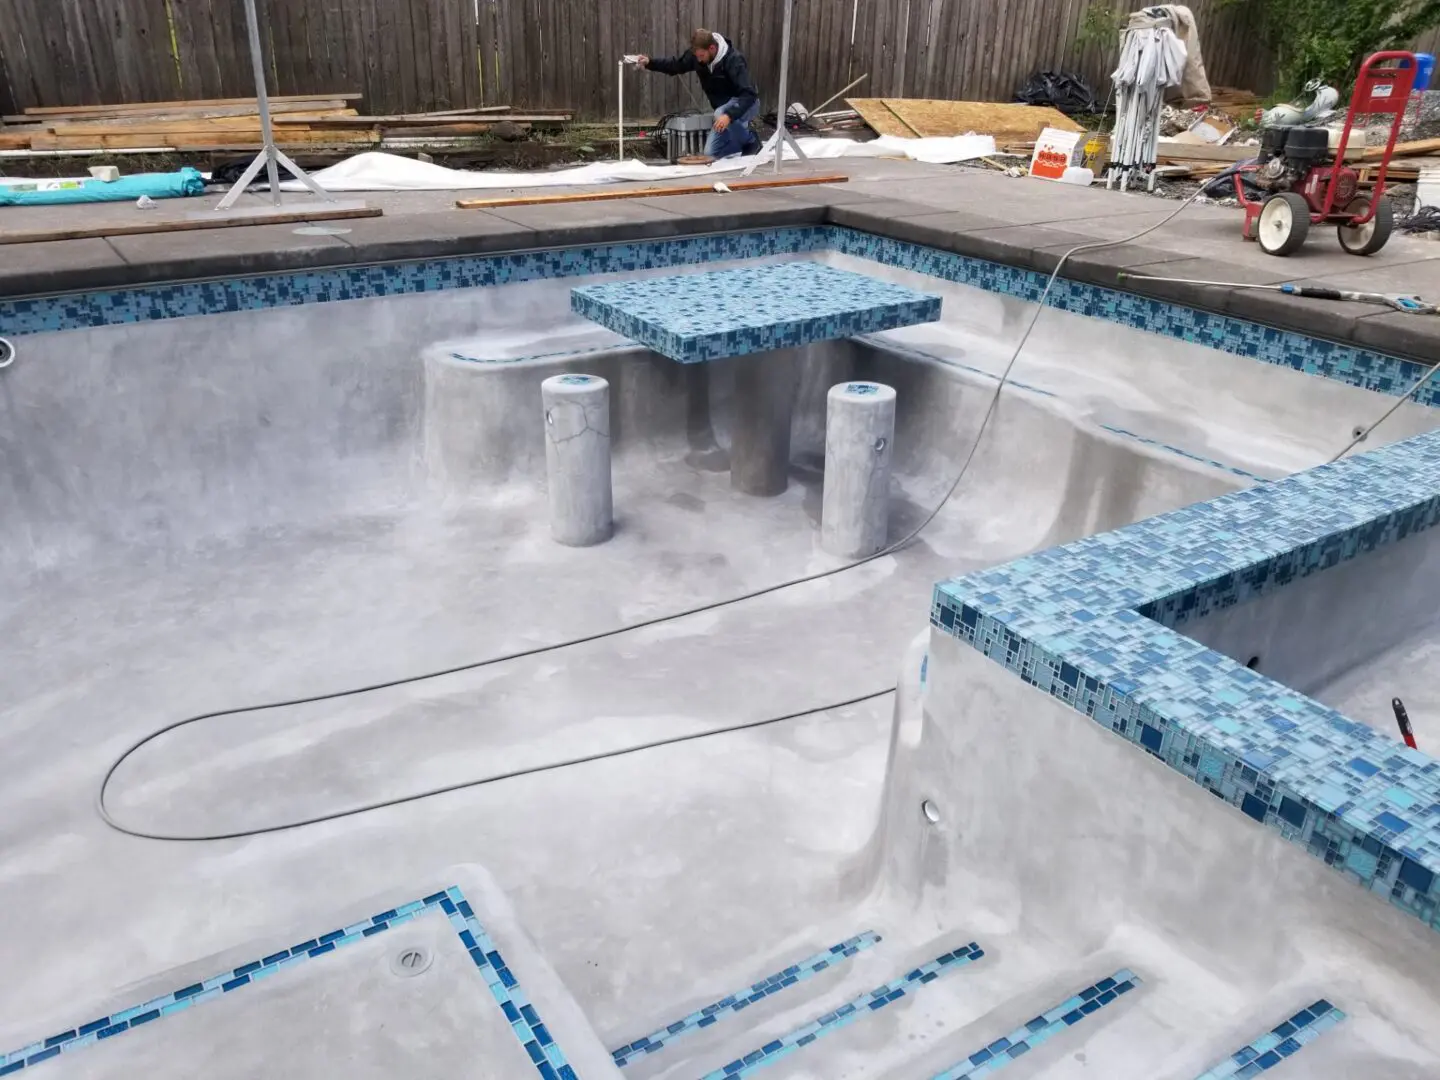
POOL RESURFACING PROCESS
WHAT TO EXPECT BEFORE, DURING & AFTER
Understand the South Florida pool resurfacing process, from planning and draining through surface preparation, finish application, refill, startup, and early care.
Pool resurfacing is often described as a simple sequence: drain the pool, remove or prepare the old finish, install the new surface, and refill it.
That summary is directionally correct, but it skips the parts that create the most questions for homeowners. What needs to happen before the pool is drained? How is the existing surface prepared? What happens if damage is discovered? Can the water be shut off during filling? Who handles startup chemistry? And when is the pool actually ready to use?
A resurfacing project has two connected timelines:
- The construction timeline, which covers draining, preparation, repairs, finish application, cleanup, and refill.
- The startup and early-care timeline, which begins when water reaches the new finish and continues while the surface cures and the water is carefully managed.
The finish may be installed in a relatively short window, but that does not mean the pool immediately returns to normal operation. The selected finish manufacturer's current instructions, the written project scope, and the professionals responsible for installation and startup should control the process.
- 1. The Short Answer
- 2. Before Pool Resurfacing Begins
- 3. Step 1: Draining the Pool
- 4. Step 2: Inspecting and Preparing the Existing Surface
- 5. Step 3: Completing Approved Repairs and Related Work
- 6. Step 4: Applying the New Pool Finish
- 7. Step 5: Refilling the Pool
- 8. Step 6: Startup, Brushing, and Early Water Care
- 9. When Can You Use the Pool Again?
- 10. How Long Does Pool Resurfacing Take?
- 11. What Can Delay the Process?
- 12. Homeowner Checklist Before, During, and After Resurfacing
- 13. South Florida Conditions That Affect the Process
- 14. Frequently Asked Questions
The Short Answer
A typical pool-resurfacing project generally follows these phases:
- Evaluate the pool and define the written scope.
- Select the finish product and color.
- Confirm related tile, coping, fitting, repair, and equipment decisions.
- Drain the pool under appropriate professional supervision.
- Inspect and prepare the existing interior surface.
- Complete approved repairs and properly sequenced related work.
- Apply and finish the new interior material.
- Begin filling the pool according to the project instructions.
- Complete the required startup, brushing, circulation, and early water care.
- Return the pool to normal use only after the applicable conditions have been satisfied.
The exact preparation method, installation sequence, and startup requirements depend on the pool, existing surface, selected finish system, related work, weather, access, and manufacturer instructions.
A resurfacing-only project also follows a different schedule from a broader remodel involving tile, coping, decking, plumbing, equipment, or structural work. Our guide to pool resurfacing versus pool remodeling explains where that boundary usually falls.
Pool-resurfacing process at a glance
| Project phase | What generally happens | What the homeowner should confirm | What may affect the schedule |
|---|---|---|---|
| Planning and finish selection | The pool is evaluated, goals are discussed, and the finish product and project scope are defined | Exact finish, color, preparation, related work, responsibilities, exclusions, and payment schedule | Product decisions, material availability, scope changes, access, and approvals |
| Drain and initial inspection | The pool is professionally taken out of service and the exposed interior is examined more closely | Who controls draining, how the property is protected, and how newly visible conditions will be documented | Water conditions, access, weather, equipment, and unexpected surface conditions |
| Surface preparation | Existing material is cleaned, treated, removed, or otherwise prepared for the selected system | The preparation method included in the written scope | Existing coatings, hollow areas, delamination, contamination, previous repairs, and the required bonding system |
| Approved repairs and related work | Authorized repairs and properly sequenced tile, fitting, coping, or other work are completed | Which repairs are included and how additional work must be approved | Newly discovered conditions and the amount of related work |
| Finish application | The selected interior finish is mixed, applied, finished, and exposed or washed as required by that system | Exact product, color, application system, and expected appearance | Pool geometry, weather, crew access, product requirements, and site conditions |
| Initial fill | Water is introduced according to the project and manufacturer instructions | Who starts and monitors the fill and whether it must remain uninterrupted | Pool volume, water source, flow rate, weather, and water availability |
| Startup and early care | Circulation, testing, balancing, brushing, and other finish-specific procedures begin | Who performs each task, how often, for how long, and what records are kept | Finish system, fill-water chemistry, plaster dust, equipment readiness, and water conditions |
| Return to normal use | Swimming and equipment operation resume in stages when the water and finish are ready | Approval for swimming, heating, cleaners, salt systems, and other equipment | Water balance, sanitation, finish instructions, dust, temperature, and equipment status |
Before Pool Resurfacing Begins
The most important resurfacing decisions should be made before the pool is empty.
The planning stage should identify:
- The exact finish manufacturer, product, and color
- The expected texture and appearance
- The preparation method included in the proposal
- Known repairs
- Fittings or drain covers being replaced
- Whether waterline tile is staying, being repaired, or being replaced
- Whether coping or decking is included
- Who handles draining and water disposal
- Who provides and pays for refill water
- Who performs startup and early water care
- Which homeowner tasks begin after filling
- What happens if additional conditions are discovered
- Which work is expressly excluded
Finish categories are not interchangeable. “Quartz” or “pebble” does not identify a specific product, color, texture, installation system, or startup procedure. Review actual samples and make sure the selected product is named in the written scope.
Our South Florida pool-finish comparison explains how plaster, quartz, pebble, and other finish categories differ.
The homeowner should also clear the work area as directed. Furniture, planters, toys, umbrellas, grills, and other movable items may need to be relocated. Gates, pets, irrigation, parking, and access routes should be discussed before crews and equipment arrive.
If tile, coping, or decking may be replaced, decide that before the resurfacing sequence is finalized. Our guide to replacing pool tile, coping, and decking during resurfacing can help organize those decisions.
Step 1: Draining the Pool
Pool draining should be treated as professional project work—not a casual homeowner maintenance task.
Once a pool is empty, it no longer has the weight of the water helping counter surrounding ground conditions. South Florida properties can also experience high groundwater, heavy rainfall, drainage complications, and other site-specific conditions.
That does not mean every empty pool will move or suffer damage. It means the timing and method of draining should be determined by someone qualified to evaluate the property and project conditions.
Before draining begins, confirm:
- Who is responsible for the drain
- Where the water will be discharged
- Whether local restrictions or approvals apply
- How groundwater or hydrostatic conditions will be considered
- How long the pool is expected to remain empty
- Whether rain or severe weather could affect the plan
- Who should be contacted if conditions change
The pool may also need to be isolated from automatic water-level devices, scheduled equipment operation, irrigation, or other systems.
Homeowners should not attempt to accelerate, interrupt, or change the approved draining procedure without speaking with the project team.
Step 2: Inspecting and Preparing the Existing Surface
Draining reveals areas that were difficult to assess clearly through the water.
The exposed pool may be examined for:
- Hollow or delaminated material
- Loose or deteriorated finish
- Cracks
- Previous patches
- Stains or contamination
- Loose tile
- Deterioration around fittings
- Conditions that could interfere with bonding
The preparation method is not identical for every pool. Depending on the existing surface, selected finish, product requirements, and written scope, preparation may involve cleaning, mechanical removal, treatment of the existing surface, removal of unsound areas, work around fittings and tile lines, and application of an appropriate bonding system.
It is inaccurate to say every resurfacing project requires complete removal to the structural shell. It is equally inaccurate to assume a new finish can simply be applied over every existing surface.
Diamond Brite's published surface-preparation instructions direct applicators to identify and address material that could interfere with bonding, including dirt, algae, loose tile, cracked plaster, hollow spots, and delamination.
The preparation method should match the actual pool and selected finish system.
This phase can also reveal conditions that were not reasonably visible beforehand. The written agreement should explain how additional findings will be documented, priced, and approved before extra work proceeds.
Visible symptoms do not always identify their own cause. If you are still determining whether the issue is ordinary finish wear or something requiring further evaluation, review the signs that a pool may need resurfacing.
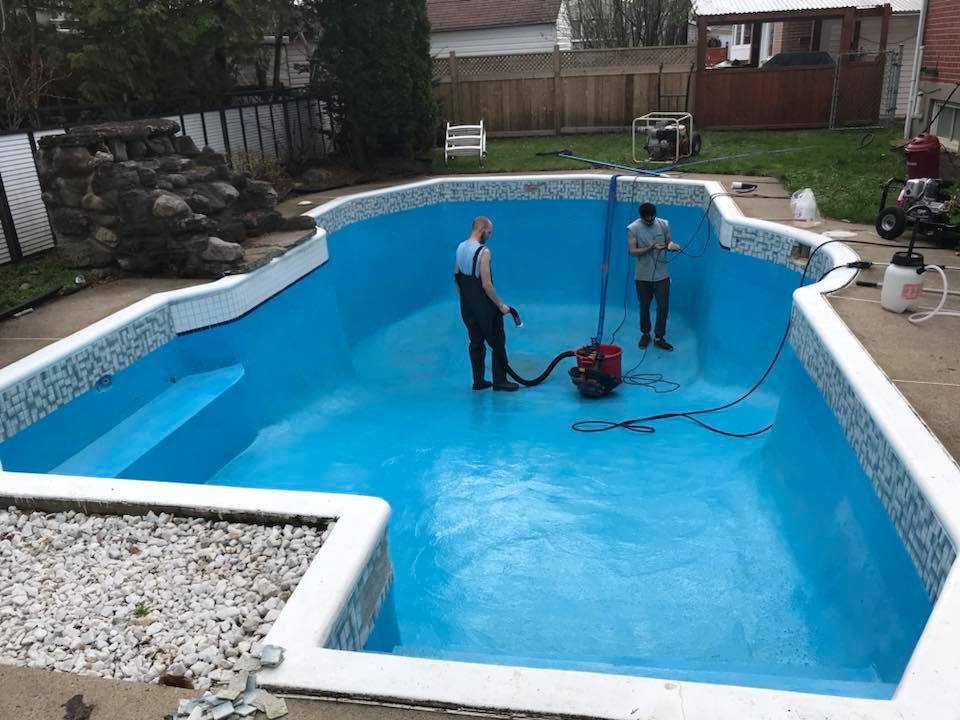
Step 4: Applying the New Pool Finish
Once the substrate and related work are ready, the selected interior finish can be installed.
The application process varies by product. Cementitious plaster, quartz, pebble, and other aggregate systems may use different mixing, placement, troweling, exposure, washing, and finishing procedures.
The installation crew must also work around:
- Steps and benches
- Curves and depth transitions
- Drains and fittings
- Attached spas
- Sun shelves
- Raised walls
- Interior water-feature surfaces
- Complex pool geometry
During this stage, homeowners should avoid entering the work area or touching the new surface. Children and pets should remain safely away from the pool and equipment.
It is also important to maintain realistic expectations about appearance. Cementitious finishes can show normal variations in shade, color, mottling, aggregate distribution, and texture.
The National Plasterers Council's pool-interior-finish disclosure explains that these materials may not appear perfectly uniform and should be evaluated when the pool is full, under appropriate natural-light conditions.
A dry or partially filled finish may look different from the same finish after filling, startup, and early curing.
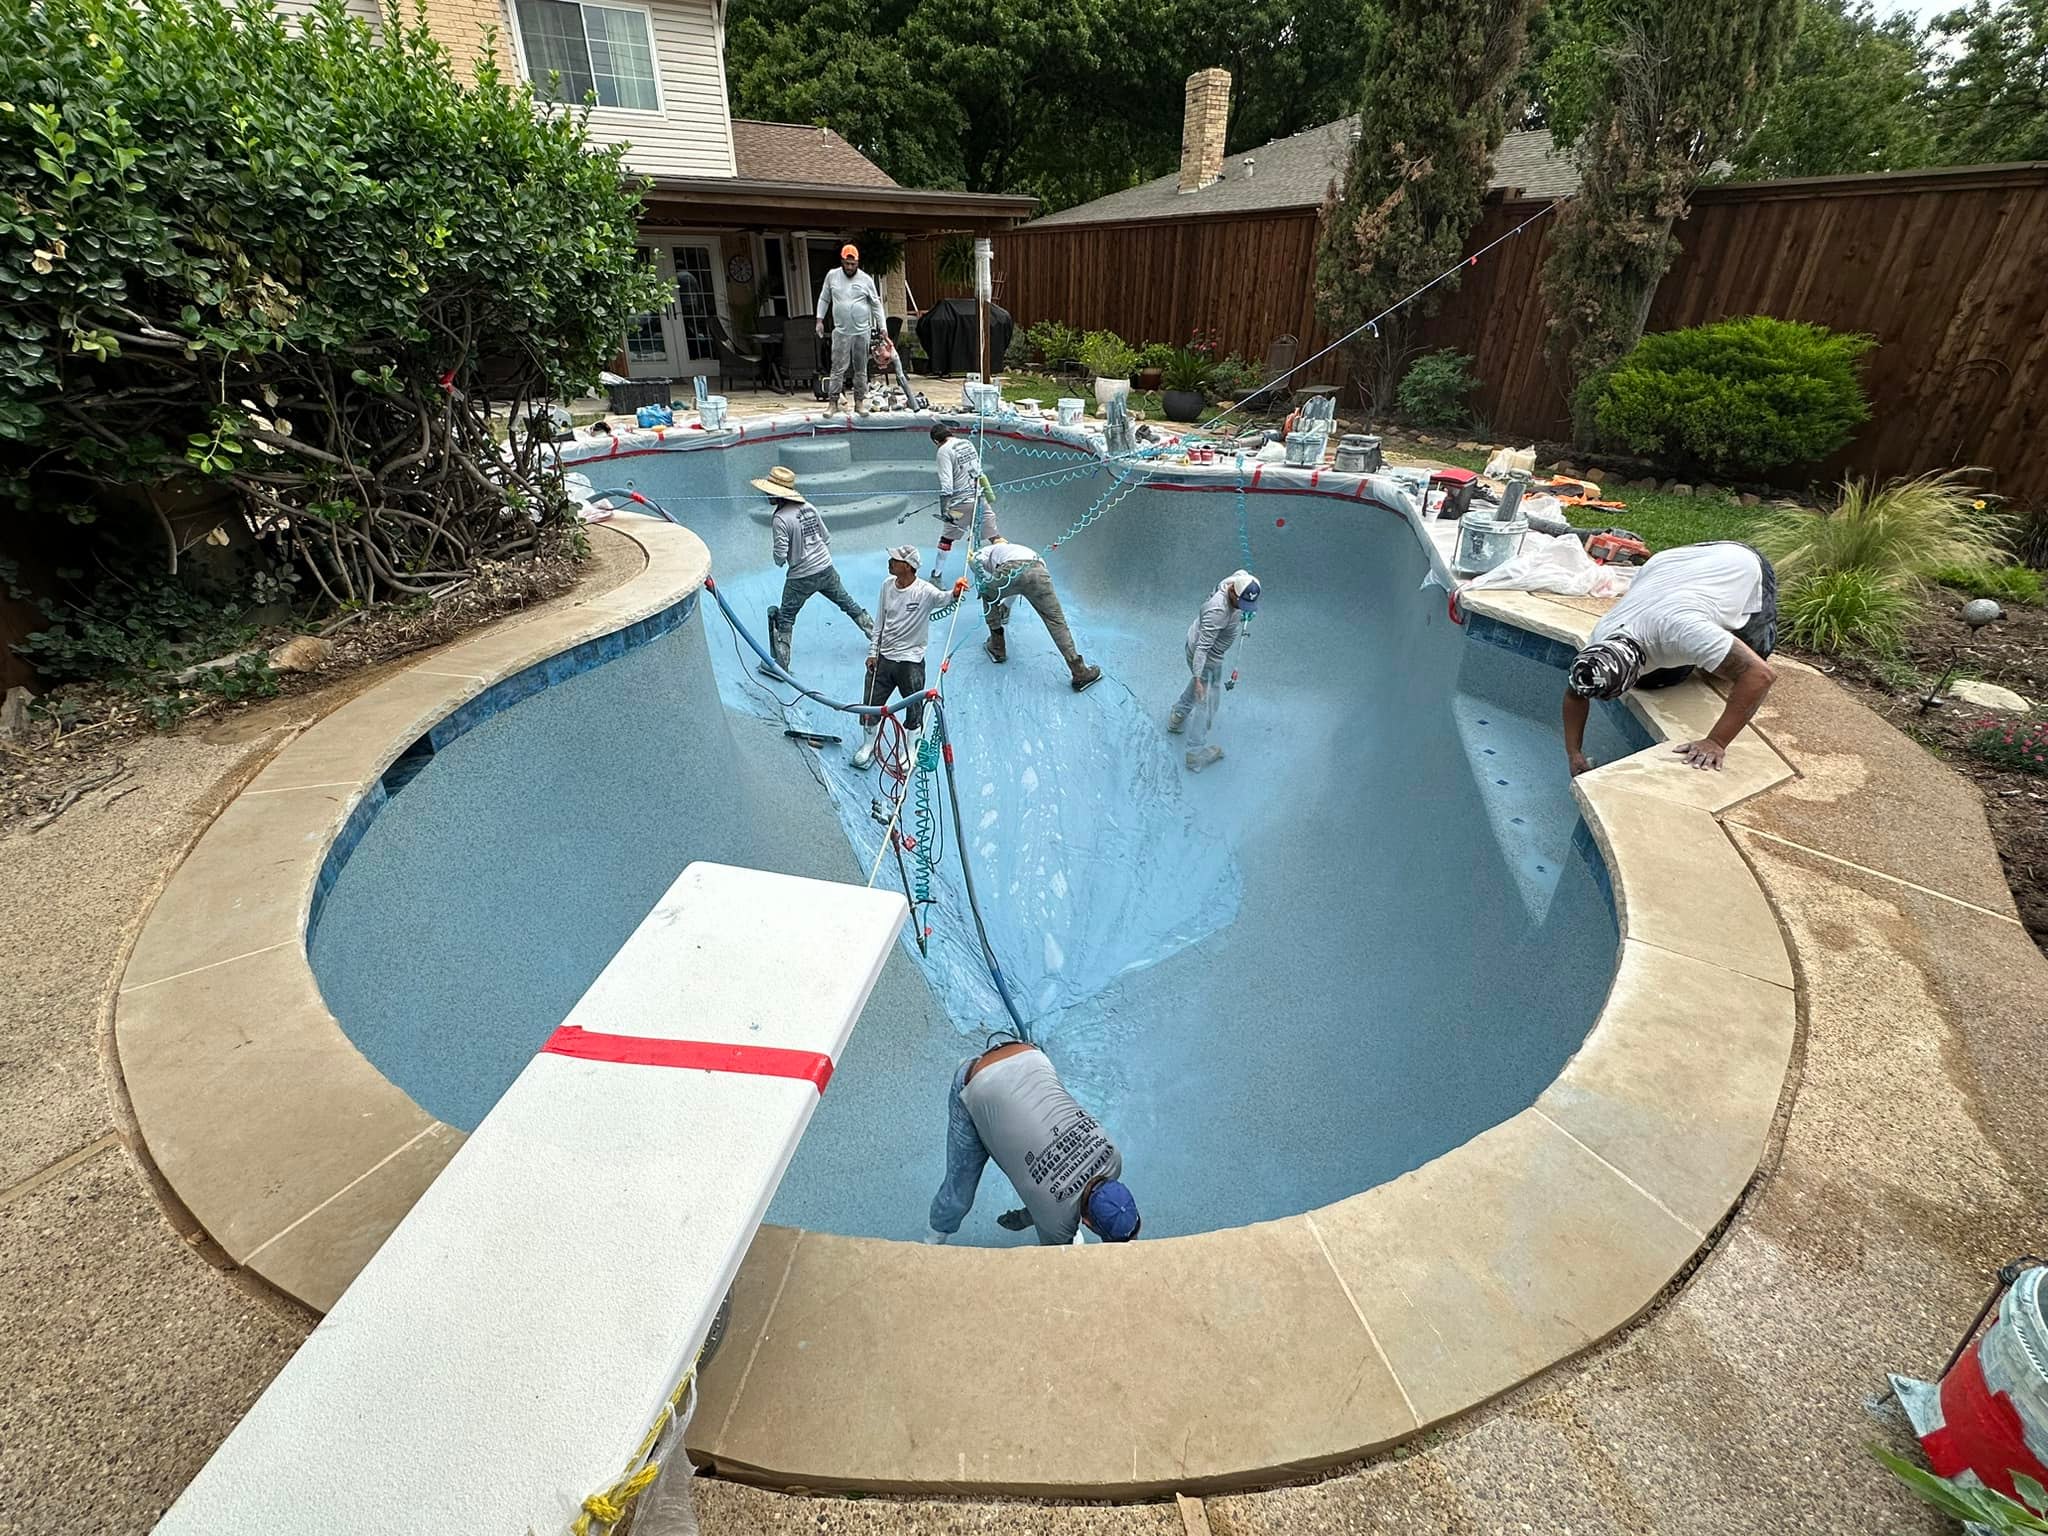
Step 5: Refilling the Pool
The initial fill is part of the installation process—not merely the moment someone turns on a garden hose.
The project team should explain:
- Who begins the fill
- What water source should be used
- Whether the water should be filtered or tested
- Whether filling must continue without interruption
- The target water level
- When the equipment should be started
- Who should be contacted when the pool reaches the required level
- What to do if the water stops unexpectedly
Many finish systems instruct homeowners not to interrupt the initial fill. Stopping partway can leave a visible line or affect how the surface cures.
Diamond Brite directs users to fill completely and without interruption with clean potable water. PebbleTec's published startup checklist also instructs users not to stop the water flow during the initial fill.
Those instructions do not create one universal fill procedure for every product. They demonstrate why the homeowner must receive directions for the exact installed finish.
During the initial fill:
- Do not enter the pool unless directed
- Keep people and pets away
- Do not drag hoses or objects across the new surface
- Do not add chemicals independently
- Do not start equipment until instructed
- Monitor the fill according to the project directions
- Report interruptions or unusual conditions promptly
Do not assume an automatic water-leveler will manage the initial fill correctly. Confirm the approved water source and procedure beforehand.
Step 6: Startup, Brushing, and Early Water Care
Startup begins after the pool reaches the specified level and the responsible professional initiates the next phase.
For a new cementitious finish, startup may involve:
- Testing the fill water
- Starting circulation at the appropriate time
- Adjusting water chemistry progressively
- Brushing the surface
- Managing plaster dust
- Monitoring filtration
- Recording test results
- Delaying certain chemicals or equipment
- Returning for follow-up service
The details vary by finish product and startup method.
Diamond Brite publishes product-specific initial-fill and water-chemistry guidance. PebbleTec provides separate pool-care instructions addressing brushing, water balance, heating, cleaners, salt systems, and early finish appearance.
The National Plasterers Council likewise recommends an appropriate startup procedure for freshly plastered pools.
Homeowners should receive written answers to four questions:
- Who is responsible for startup?
- What exactly does the included startup service cover?
- What tasks must the homeowner or regular pool-service provider perform?
- Whose instructions control if generic advice conflicts with the selected manufacturer's requirements?
Do not combine procedures from unrelated products or internet guides. Follow the current written instructions for the installed finish and the project-specific direction provided by the responsible professionals.
When Can You Use the Pool Again?
There is no responsible universal answer such as “exactly three days” or “always one week.”
The pool should not return to use until the responsible professional confirms that the applicable conditions have been met.
Those conditions may include:
- The pool is completely filled
- Circulation is operating properly
- The water has been appropriately balanced and sanitized
- Loose plaster dust has been managed
- The new finish has reached the required stage
- The water is safe for swimmers
- The manufacturer's and project-specific restrictions are satisfied
PebbleTec advises waiting until the pool is completely filled and the water is chemically balanced before swimming. Other finish systems may provide their own instructions.
The same caution applies to pets. They should not enter during filling or before the pool is ready for normal use.
Swimming approval does not necessarily mean every system or feature can immediately return to normal operation. Heaters, automatic cleaners, wheeled vacuums, salt-chlorine generators, and other equipment may have separate waiting periods.
Ask for those milestones in writing.
How Long Does Pool Resurfacing Take?
A straightforward resurfacing project may complete its active construction phases within several working days, while another project may take longer because of preparation, repairs, related work, weather, inspections, access, material availability, or newly discovered conditions.
That is why a useful schedule should identify milestones instead of promising one universal number.
The schedule should distinguish among:
- Project start
- Pool draining
- Surface preparation
- Repairs or related work
- Finish installation
- Initial filling
- Startup commencement
- First permitted swimming
- Activation of restricted equipment
- Completion of the early-care period
- Final project handoff
The physical application of the finish may occupy only one part of the construction schedule. Startup and early curing commonly continue after the pool appears visually complete.
Some manufacturers provide instructions covering approximately the first 28 days, but that does not mean every pool must remain unusable for 28 days. It means certain chemistry, equipment, care, and appearance considerations continue during that period.
When comparing schedules, ask whether the stated duration refers to construction, refill, startup service, return to swimming, or the entire early-care period. Those are not the same milestone.
What Can Delay the Process?
A resurfacing schedule may change because of:
- Rain or severe weather
- Groundwater or drainage conditions
- Unexpected deterioration beneath the existing finish
- Additional repairs approved after draining
- Extensive hollow or delaminated areas
- Structural concerns requiring evaluation
- Material availability
- Finish-color or product changes
- Tile, coping, plumbing, or equipment work
- Restricted site access
- Inspection or approval requirements when applicable
- Refill-water availability or flow rate
- Equipment problems discovered before startup
- Fill-water chemistry
- Interrupted filling
- Homeowner-requested scope changes
A delay does not automatically mean something has gone wrong. Some delays reflect the decision to correct a condition properly rather than cover it and hope for the best.
Communication matters here. The proposal should explain who provides schedule updates, who authorizes additional work, and how changes affect the anticipated sequence.
Homeowner Checklist Before, During, and After Resurfacing
| Project stage | Homeowner checklist |
|---|---|
| Before work begins | Confirm the exact finish and color, written scope, known repairs, exclusions, access plan, water responsibilities, startup provider, payment schedule, and change-order procedure. Remove movable items as directed and secure pets and children. |
| While the pool is empty | Stay out of the work area, do not operate pool equipment, and do not direct water into the pool. Report weather, drainage, irrigation, or property conditions that could affect the project. |
| During the initial fill | Follow the provided water-source and fill instructions. Do not interrupt the fill, enter the pool, add chemicals, move hoses across the finish, or start equipment unless directed. |
| During startup | Confirm who tests, adjusts, brushes, records results, and monitors equipment. Complete only the homeowner tasks included in the written startup plan. |
| Before swimming | Obtain confirmation that filling, circulation, sanitation, water balance, dust management, and applicable finish requirements allow normal use. |
| Before activating heaters, cleaners, or salt systems | Ask for separate approval for each item. Do not assume swimming approval means every device can be used immediately. |
| At project handoff | Retain the proposal, change orders, finish information, startup records, care instructions, applicable warranty documents, and contact information for reporting concerns. |
One more practical point: photograph the project at major milestones. Images can document visible conditions and completed work, but they should not be treated as a substitute for professional evaluation or written records.
South Florida Conditions That Affect the Process
South Florida creates several planning considerations that generic national resurfacing articles often miss.
Rain and groundwater
Heavy rain and elevated groundwater can affect drain timing and how an empty pool is managed. The project team should evaluate current site conditions rather than rely on a calendar assumption.
Heat and direct sunlight
Temperature and sun exposure can affect working conditions, water temperature, evaporation, and the pace at which fill-water chemistry changes. Product-specific installation and startup guidance should account for actual conditions.
Year-round pool use
South Florida homeowners often use pools throughout the year. That makes it especially important to understand the difference between the construction schedule and the return-to-use schedule before work begins.
Fill-water characteristics
The initial water should be tested and managed according to the selected finish system. Metals, hardness, alkalinity, pH, and other water characteristics can affect a new surface.
Saltwater systems
A saltwater pool still requires a product-specific startup plan. Some finish manufacturers restrict when salt may be added or when the salt-chlorine generator may be activated after installation. Do not restart the system based on the pool's previous operating schedule.
Local scope and contractor requirements
Florida law includes interior refinishing and substantial or complete draining for repair or renovation within defined pool-contractor scopes. Homeowners can review the relevant language in Florida Statute 489.105 and verify contractor information through the appropriate state resources.
Permit and inspection requirements may vary by municipality and project scope. Ask who determines what applies rather than assuming every resurfacing project follows the same local process.
Homeowners still defining their budget can use our guide to pool-resurfacing costs in South Florida to understand how finish choice, preparation, repairs, startup, and related work affect estimates.
Frequently Asked Questions
Q:What are the main steps in pool resurfacing?
The typical sequence includes planning and finish selection, professional draining, inspection and surface preparation, approved repairs, new-finish application, initial filling, startup, and early water care. The exact preparation and startup procedures depend on the existing pool, selected finish, written scope, and manufacturer instructions.
Q:Does all of the old pool finish have to be removed?
Not necessarily. The required preparation depends on the condition and type of the existing surface, the selected finish system, bonding requirements, and written project specification. Unsound material must be addressed, but it is inaccurate to claim every pool requires an identical complete chip-out.
Q:Can I drain the pool myself before the contractor arrives?
Do not drain the pool unless the project team specifically directs and coordinates it. Empty-pool conditions can involve groundwater, hydrostatic pressure, weather, drainage, equipment, and property-protection concerns that require professional management.
Q:Can the water be turned off while the resurfaced pool is filling?
Many cementitious finish systems instruct users to fill continuously without interruption because stopping can leave a visible line or affect the surface. Follow the written instructions for the exact installed product and contact the responsible professional immediately if the fill stops unexpectedly.
Q:How long does pool resurfacing take?
Active construction may take several working days for a straightforward project, but preparation, repairs, related renovations, weather, inspections, filling, and other conditions can extend the schedule. Startup and early care continue after finish application, so ask which milestone a quoted duration actually describes.
Q:When can I swim after pool resurfacing?
Swim only after the pool is completely filled and the responsible professional confirms that circulation, sanitation, water balance, surface conditions, and applicable manufacturer requirements allow use. There is no single waiting period appropriate for every finish and startup method.
Q:Who handles brushing and water chemistry after resurfacing?
Responsibility varies by contract. The installer, a startup provider, the regular pool-service company, or the homeowner may handle different tasks. The proposal should identify who performs testing, balancing, brushing, equipment startup, documentation, and follow-up care.
Q:When can I turn on the heater, automatic cleaner, or salt system?
These items may have separate manufacturer-specific restrictions after a new finish is installed. Do not activate them based on the pool's previous routine. Obtain written direction for the exact finish, startup method, and equipment.
Planning a Pool Resurfacing Project in South Florida?
A smoother project begins with a clearly defined finish, preparation plan, related-work scope, refill procedure, and startup responsibility. Precision Pavers & Pool Design can help you evaluate the pool, review material options, and understand the expected sequence before work begins.